Continuous Deployment with GitHub Actions
“Continuous deployment (CD) is a software engineering approach in which software functionalities are delivered frequently and through automated deployments.” ~ https://en.wikipedia.org/wiki/Continuous_deployment
In this article I’ll cover the process and the actual Yaml file to automate your deployment from your development laptop to Webserver simply by pushing a commit to GitHub.
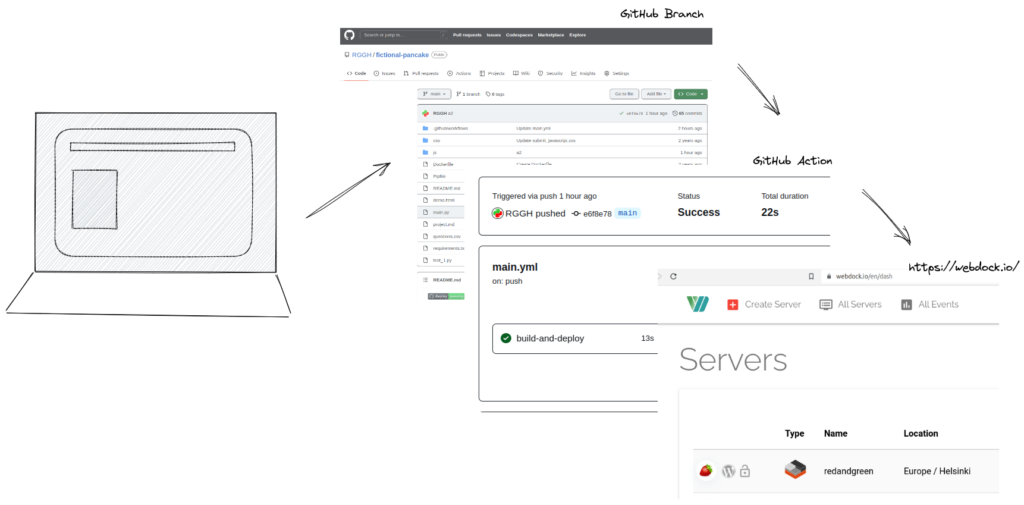
Deploy simply by committing to GitHub – via “build and deploy”

Rsync – Continuous Deployment
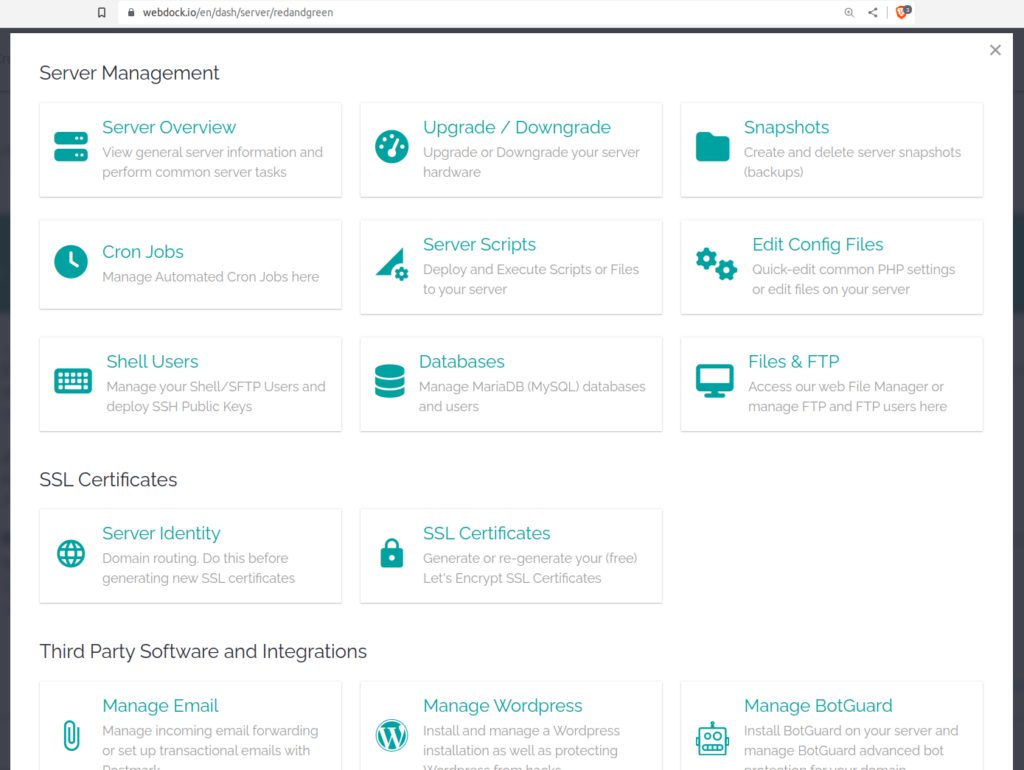
So the actual process that does the update is Rsync. That sounds straightforward? Well there’s a bit more to it than that. You need to set up SSH on your Webserver, preferably a dedicated key pair. This will be a standard procedure provided you have access to the command line on your server. I use webdock.io and am able to create and manage my own Linux server.
This is an excellent article covering most of the instructions I used. https://zellwk.com/blog/github-actions-deploy/
One issue I had was with permissions when testing the workflow. I changed “a” to “r” with rsync and after that it worked!
run: rsync -rvz .......The full Yaml file:
https://github.com/RGGH/fictional-pancake/blob/main/.github/workflows/main.yml
The best way to get started with this is to run the action and read the errors, typically you’ll have a path or variable set incorrectly or missing.
Beware of getting ‘Main’ and ‘Master’ mixed up as well.
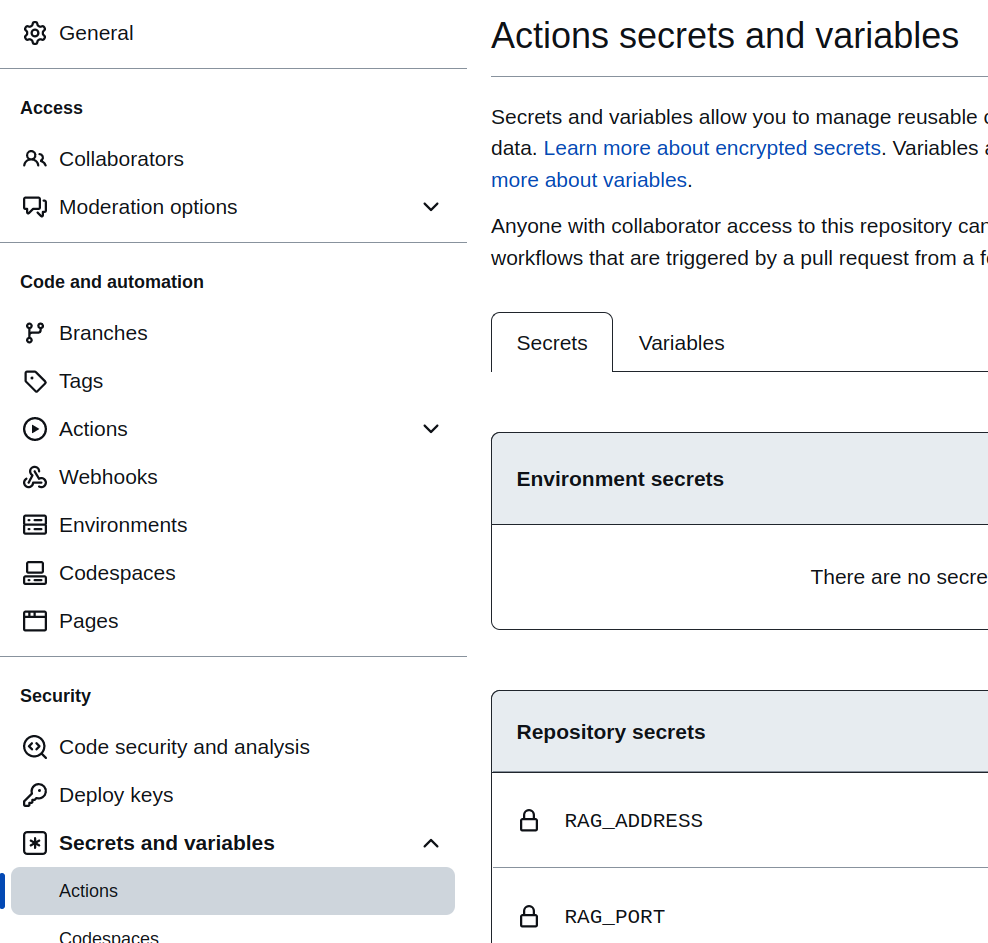
Note : The secrets for your web server need to be added as variables under settings in your repo – after that you can refer to them in the Yaml file.